


Have You Ever Considered Painting Your Bathroom Vanity Cabinet?
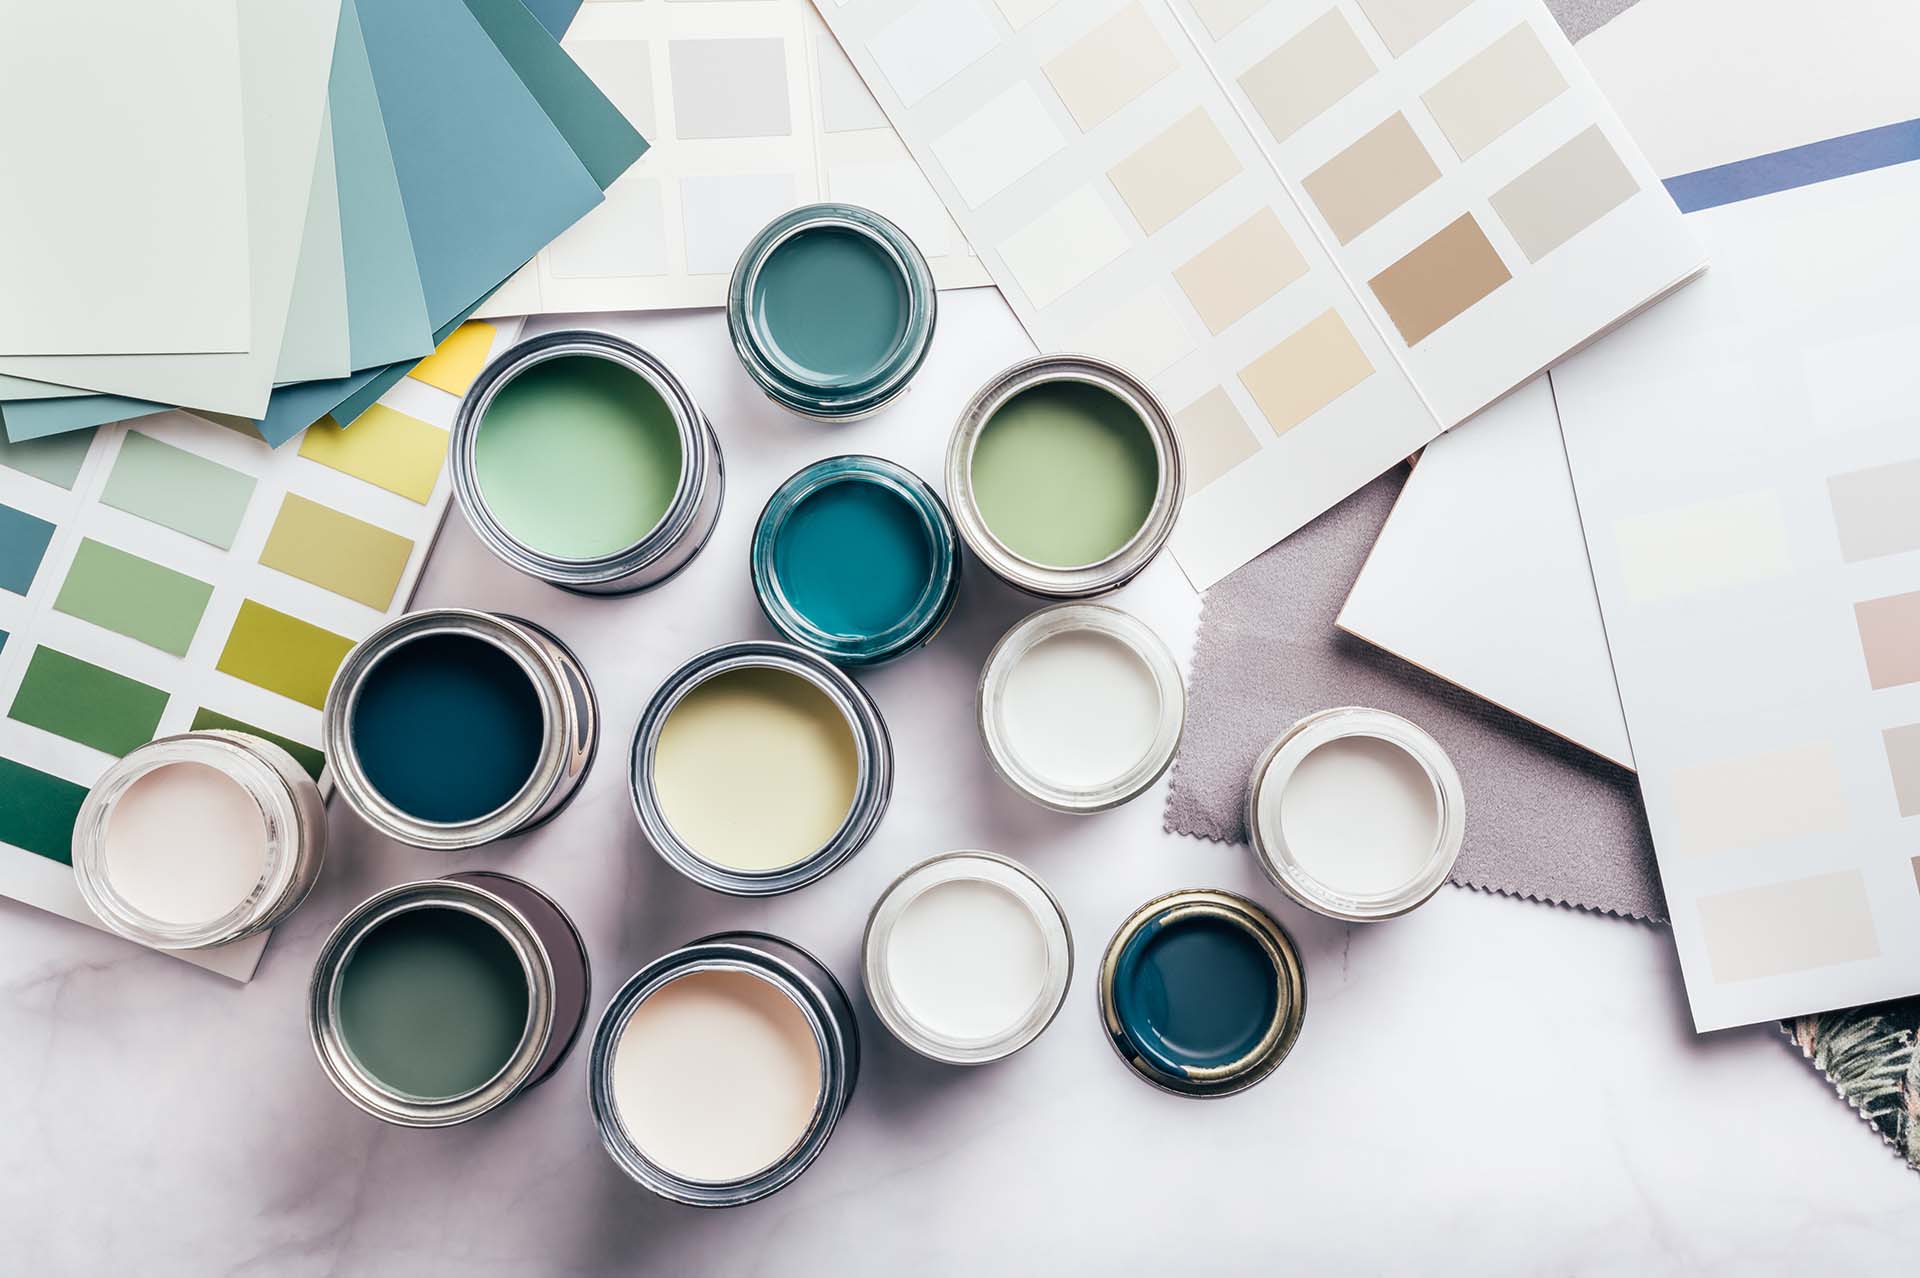
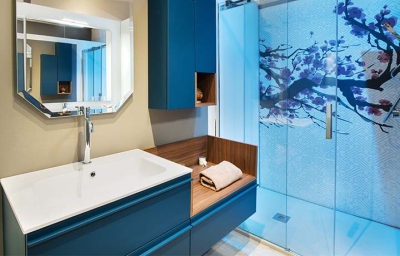 Everyone likes an up-to-date refreshed bathroom, but the cost, time and inconvenience stops most people for starting a bathroom remodeling project. However, there are simpler options that may achieve the exact same result with just the cost of paint and a little bit of personal time. Painting the bathroom vanity cabinet can dramatically impact the entire look of a dated bathroom. Painting bathroom cabinets is a much less expensive option compared to replacing the existing vanity. Plus, if you decide to paint, you can select just about any color and sheen for your bathroom.
Supplies Checklist: Painting Bathroom Vanity Cabinets
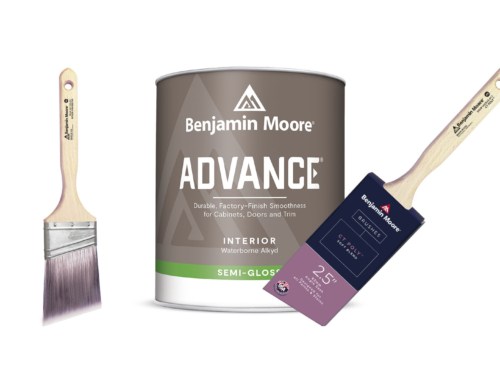
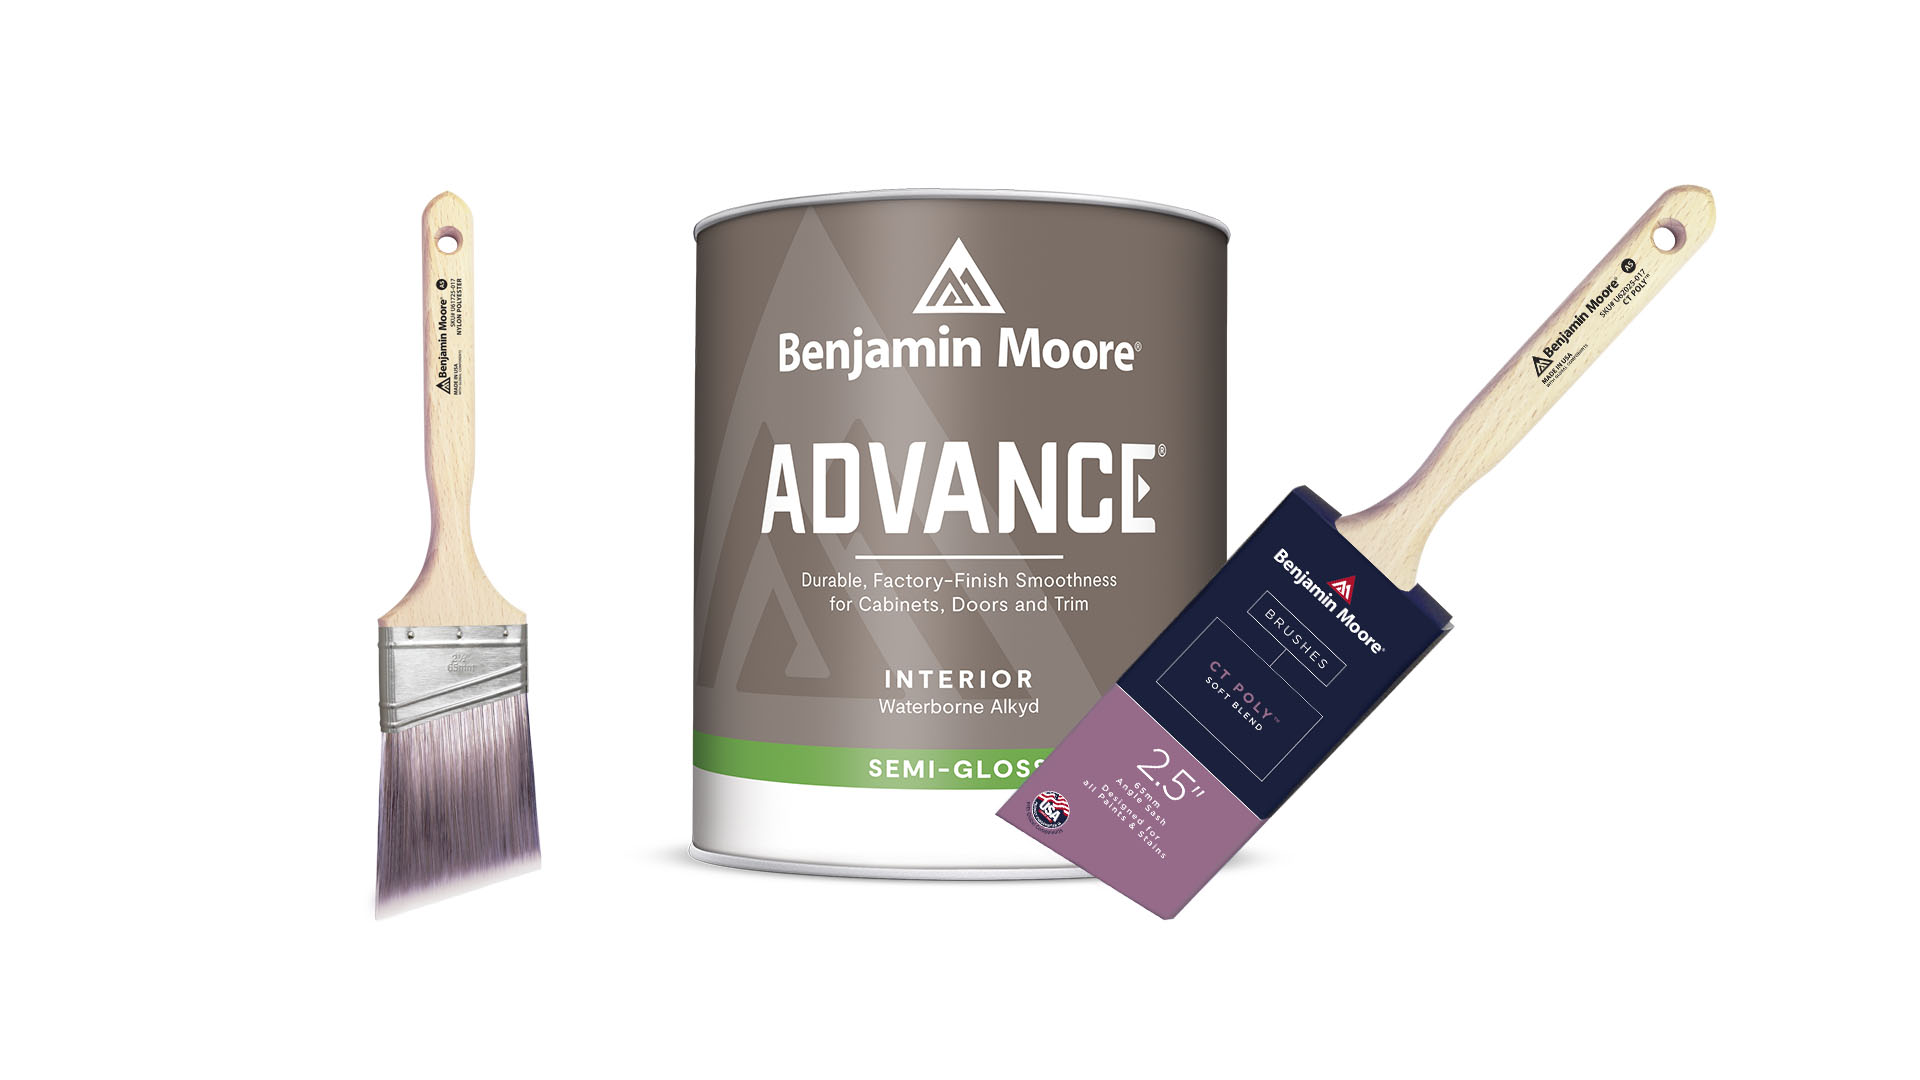
ADVANCE® Interior Paint
Damp cloths
Degreaser
Drop cloth
-grit sandpaper (220-grit)
Medium-grit sandpaper (120- to 150-grit)
Pencil or permanent marker
Roller (4-inch) with cover
Sanding block
Screwdriver
STIX® Waterborne Bonding Primer
Vacuum
Microfiber towel
Paintbrushes: 2 ½ inch Angle-Sash Brush and 1-½ inch Angle-Sash Brush
Paint tray
Painter’s tape
Painting Steps
Step #1: Clean and Prep Your Space
Step #2: Remove Drawers, Doors, and Hardware
Step #3: Tape It Up
Step #4: Start Sanding
Step #5: Clean the Surface
Step #6: Prime
Step #7: Paint
Step #8: Let dry and repeat
Step #9: Reassemble Your Bathroom Vanity
Painting Steps According To The Benjamin Moore Experts
Step #1: Clean and Prep Your Space
Remove all items from your bathroom vanity and thoroughly clean the cabinets and the surrounding area using a damp cloth and degreaser if necessary (if you use a degreaser, make sure you rinse with fresh water afterward to keep the surface contaminant-free). Lay your drop cloth on the floor around your workspace to protect it from sanding dust, errant paint, etc.
Step #2: Remove Drawers, Doors and Hardware
Remove drawers and doors from the cabinet frame. Using your screwdriver, remove all hardware, including hinges, knobs and pulls. Be sure to place all screws and hardware in a safe place and label the back of each door and drawer to ensure you put them back in the correct spot when you’re ready to reassemble the piece.
Step #3: Tape It Up
Use painter’s tape to cover any surfaces on or near your bathroom vanity that you don’t want to paint, such as any nearby walls or the underside of the vanity countertop.
Step #4: Start Sanding
If your bathroom vanity is finished (already painted or coated), sand the drawers, doors and outer cabinet frame with your sanding block with medium-grit (150) sandpaper to remove the clear coat or any uneven paint. When the surface is smooth, switch to your fine-grit (220) sandpaper for a light sanding. Sand with the grain of the wood, not against it.
Step #5: Clean the Surface
After sanding, vacuum the sanding dust debris, then use a microfiber towel to remove any residual dust. With a damp cloth, thoroughly clean the surface of your bathroom vanity and all drawers and doors.
Step #6: Prime
Using your large paintbrush or 4” roller, apply an even coat of STIX® Waterborne Bonding Primer to the cabinet frame and each drawer and door. Let dry.
Step #7: Paint
Once the primer is completely dry, use your roller or large paintbrush to apply ADVANCE® Interior Paint evenly to every surface. Switch to your smaller paintbrush to cover any details and smooth out your painted corners or edges.
Step #8: Let Dry and Repeat
Once the first coat is dry, repeat the painting process with a second coat of paint and allow the piece to dry completely.
Step #9 Reassemble Your Bathroom Vanity
Once the paint has cured, reattach any hardware you removed and replace each door and drawer in its correct location.
Helm Paint & Decorating, locally owned and operated, has been in business since 1970 and is an independent dealer of Benjamin Moore Paints and Finishes. Our trained specialists are available to assist you in selecting paint and supplies for your business. We also offer interior design service along with window treatments and wall coverings. We have locations across New Orleans, Metairie, Mandeville, Hammond and Gretna, for your convenience, to serve you.
![]()


