


Your Ultimate Guide to Preparing a Room for Painting
Prepping your room correctly can turn a painting project from good to great. Helm Paint and Decorating is here with a detailed guide to ensure your paint job looks professional and flawless.
Initial Steps: Removing Room Hardware
Kickstart your project by removing any hardware – think window mechanisms, door hardware, electrical plates, and lighting fixtures. A pro tip is to attach screws back to their hardware or tape them together, noting their original placement. This organization makes for an effortless reinstallation.
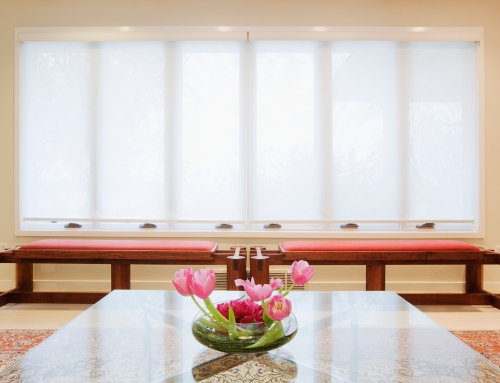
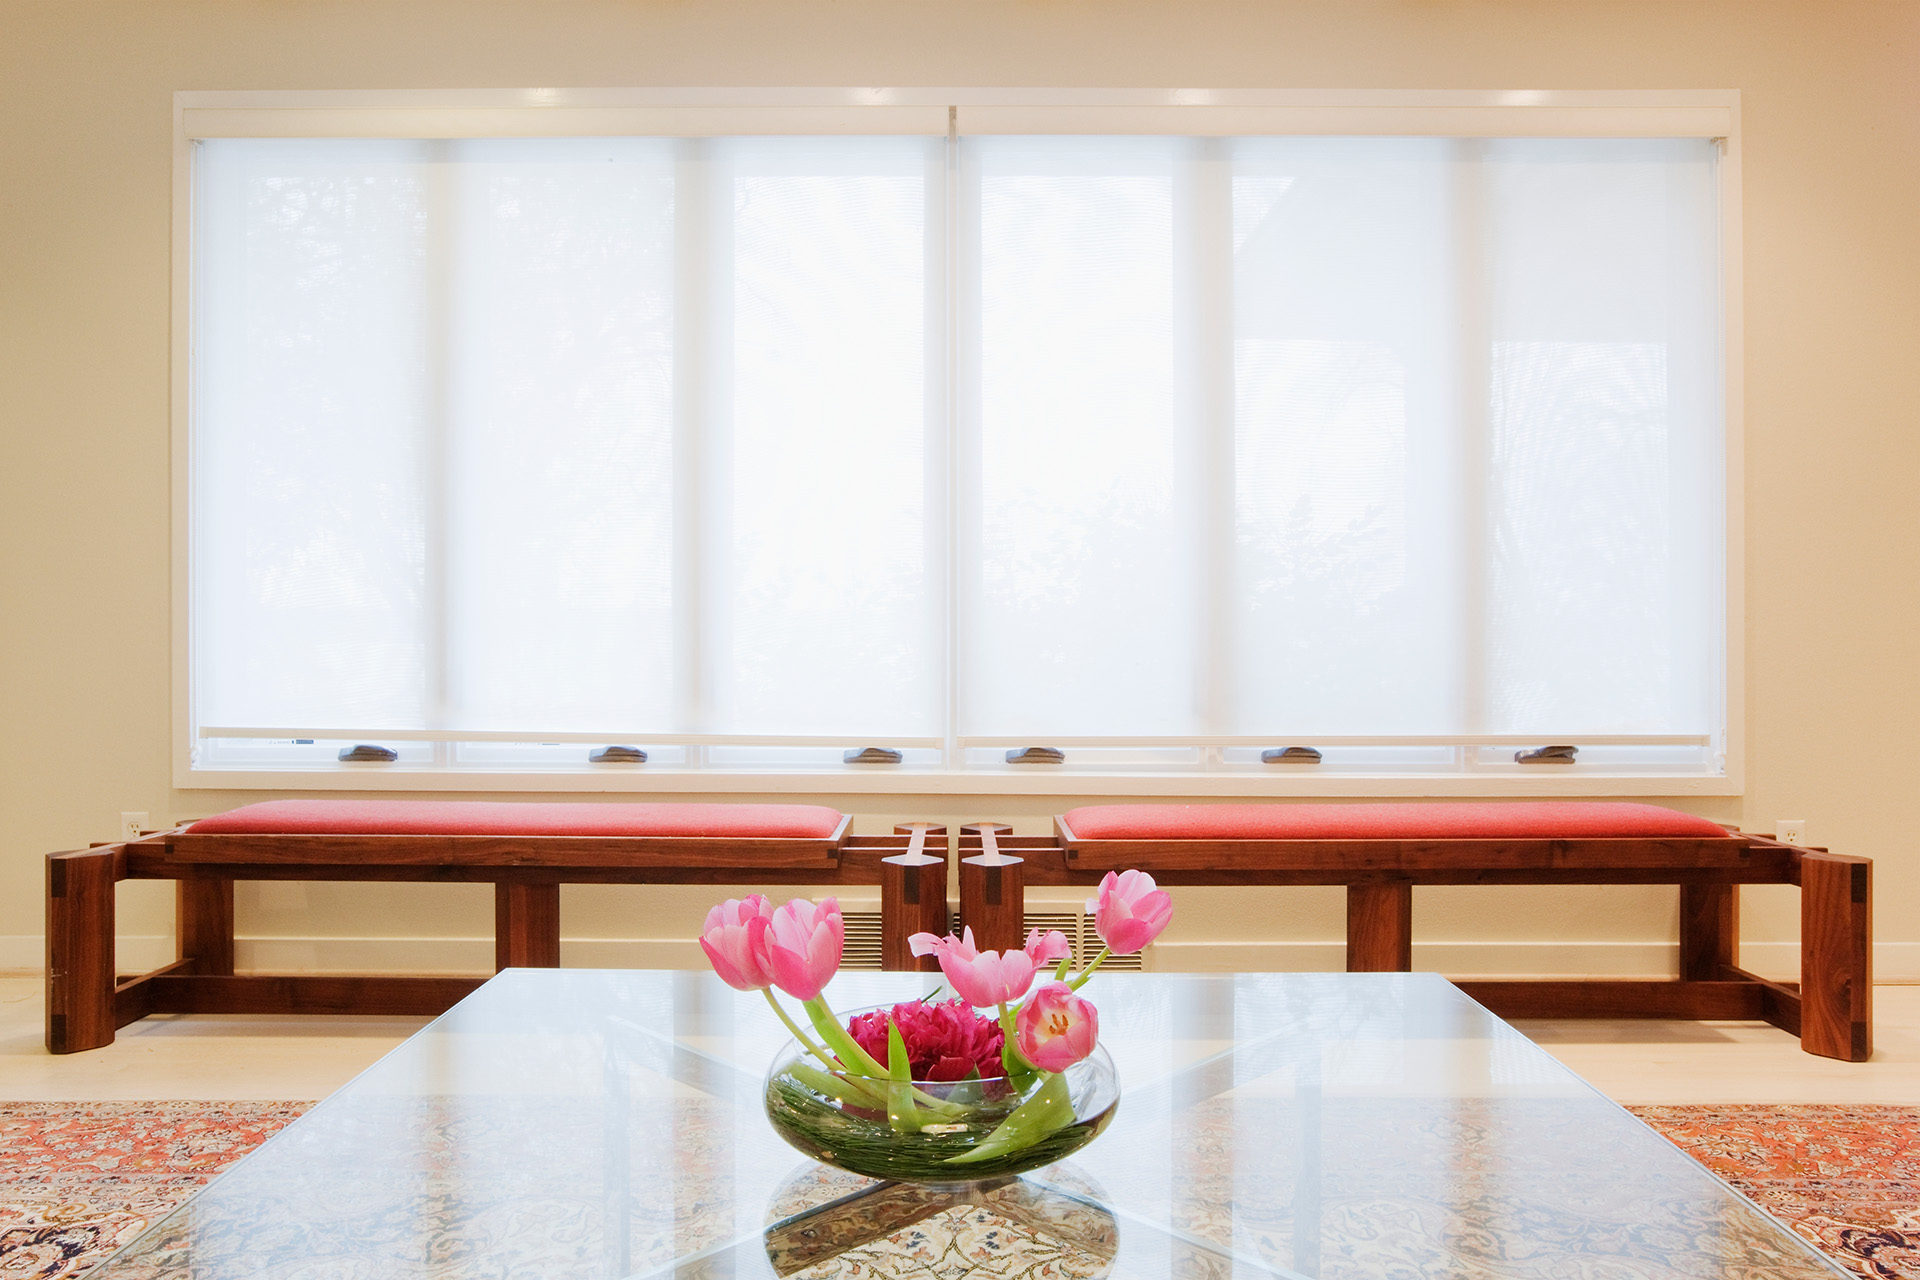
Decluttering the Space
For ease of movement and to protect your belongings, move furniture out of the room if possible. For items that must stay, cover them with plastic tarps. Ensuring a clear working area, ideally with a three-foot-wide path, is essential for a smooth painting process.
Floor Protection Strategy
Skipping painter’s tape on the floors might save time for professionals, but a key area not to overlook is the baseboard’s bottom edge. Secure it with tape, then lay down rosin paper, extending it with plastic-lined canvas cloths over the rest. This layered approach guarantees your floors stay pristine.
Wall Surface Preparation
Thoroughly examine your walls and trim for any imperfections. Use spackle for walls and wood filler for trims to mend any blemishes. For plaster, opt for joint compound and mesh tape for larger issues and a flexible compound for smaller ones. Seal any trim gaps with a neatly applied bead of caulk, smoothed over with a damp finger.
Ensuring a Smooth Base: Sanding and Dusting
Achieve a perfect painting canvas by sanding moldings, doors, and windows with 220-grit paper, and walls with a pole sander and 120-grit paper. After sanding, eliminate all dust with a HEPA-filter vacuum, followed by a wipe-down with a damp cloth or tack cloth.
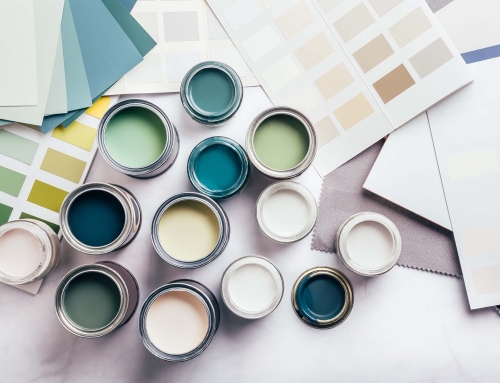
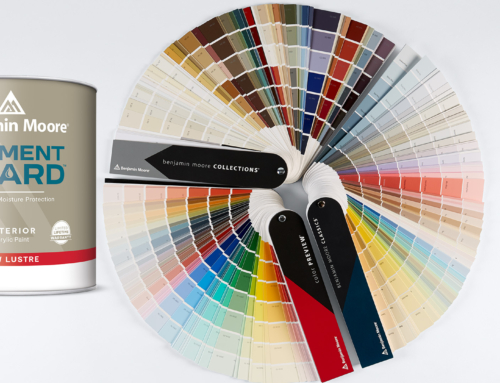
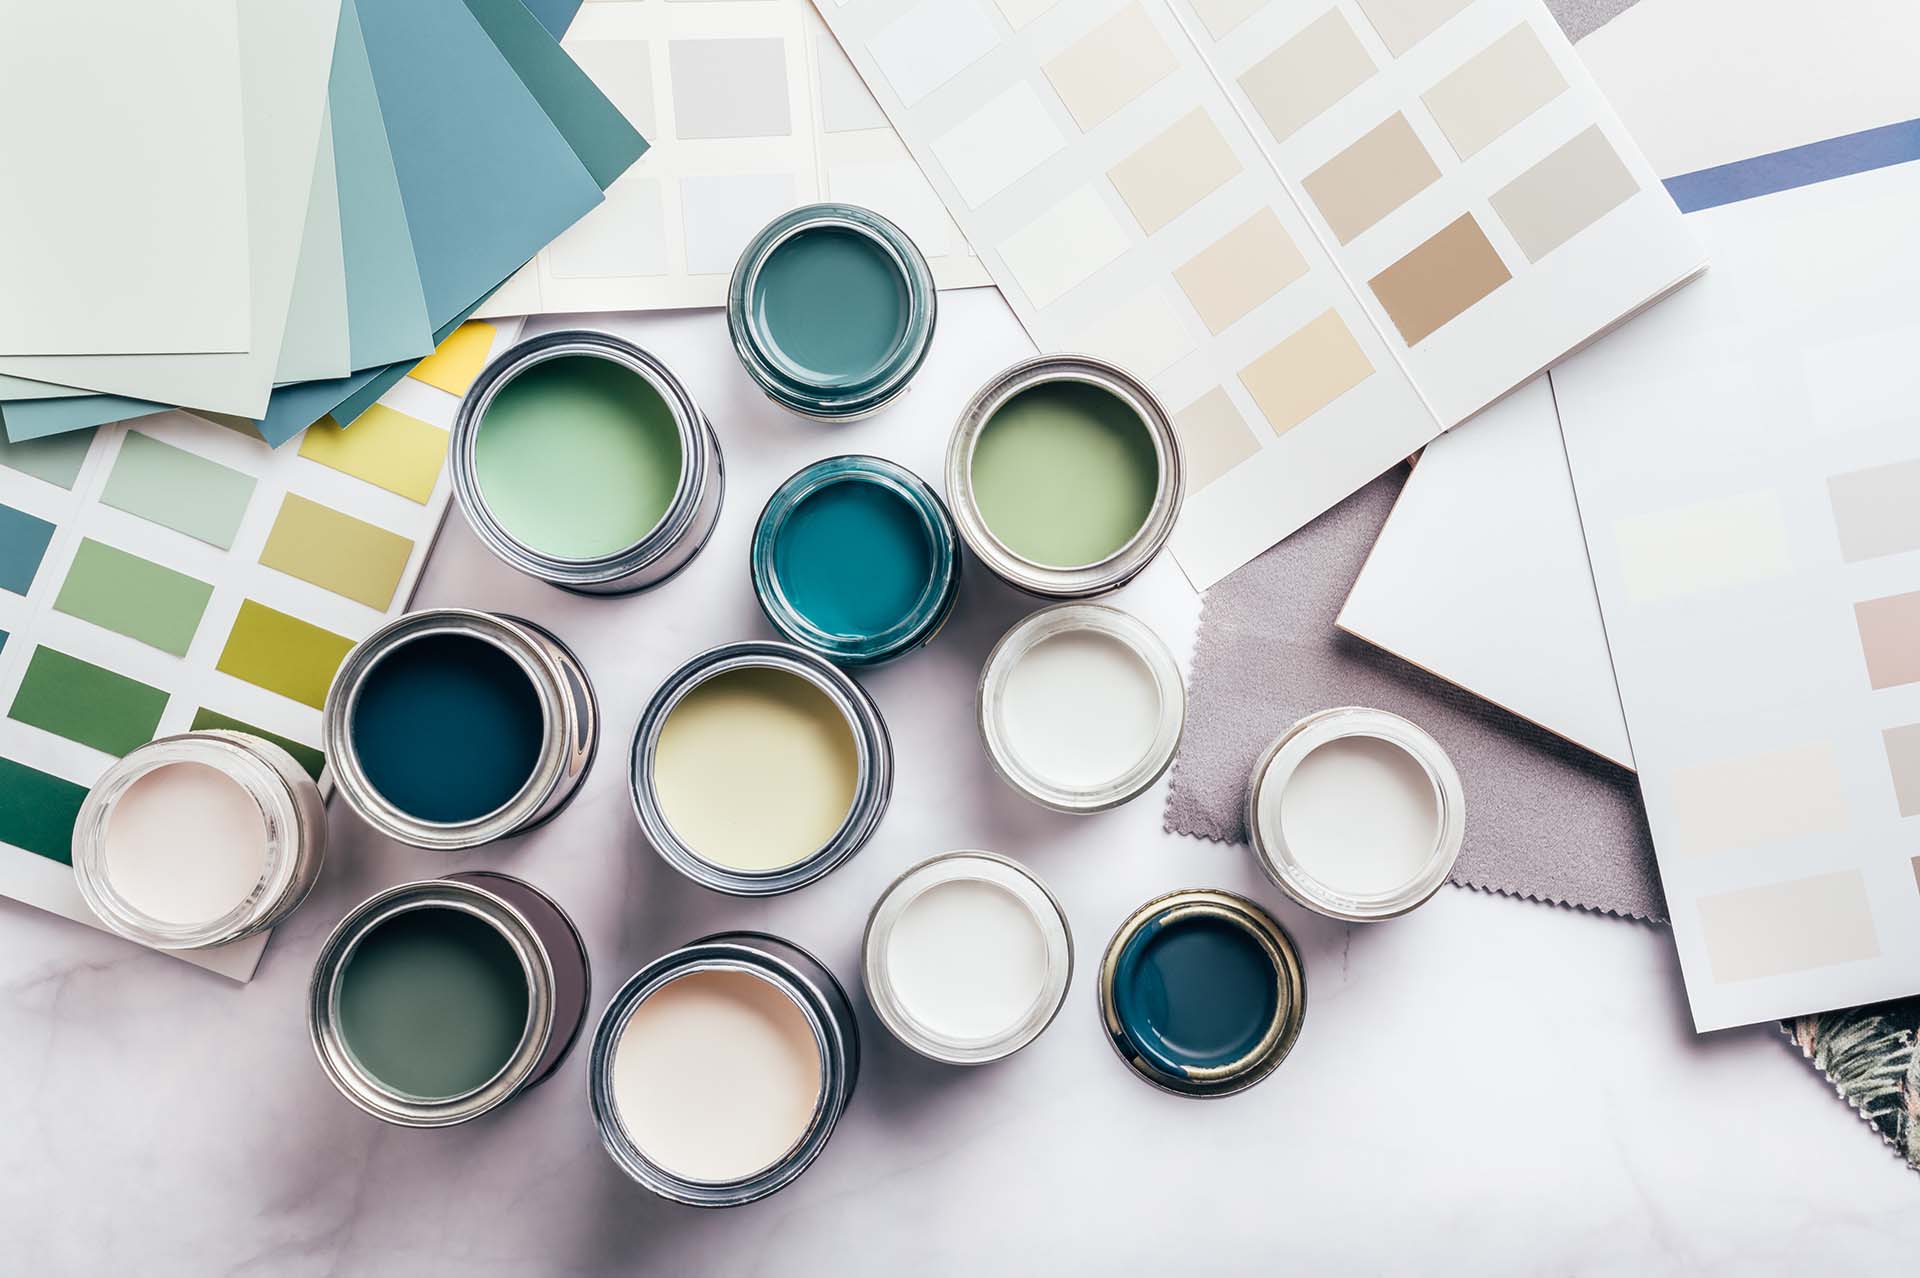
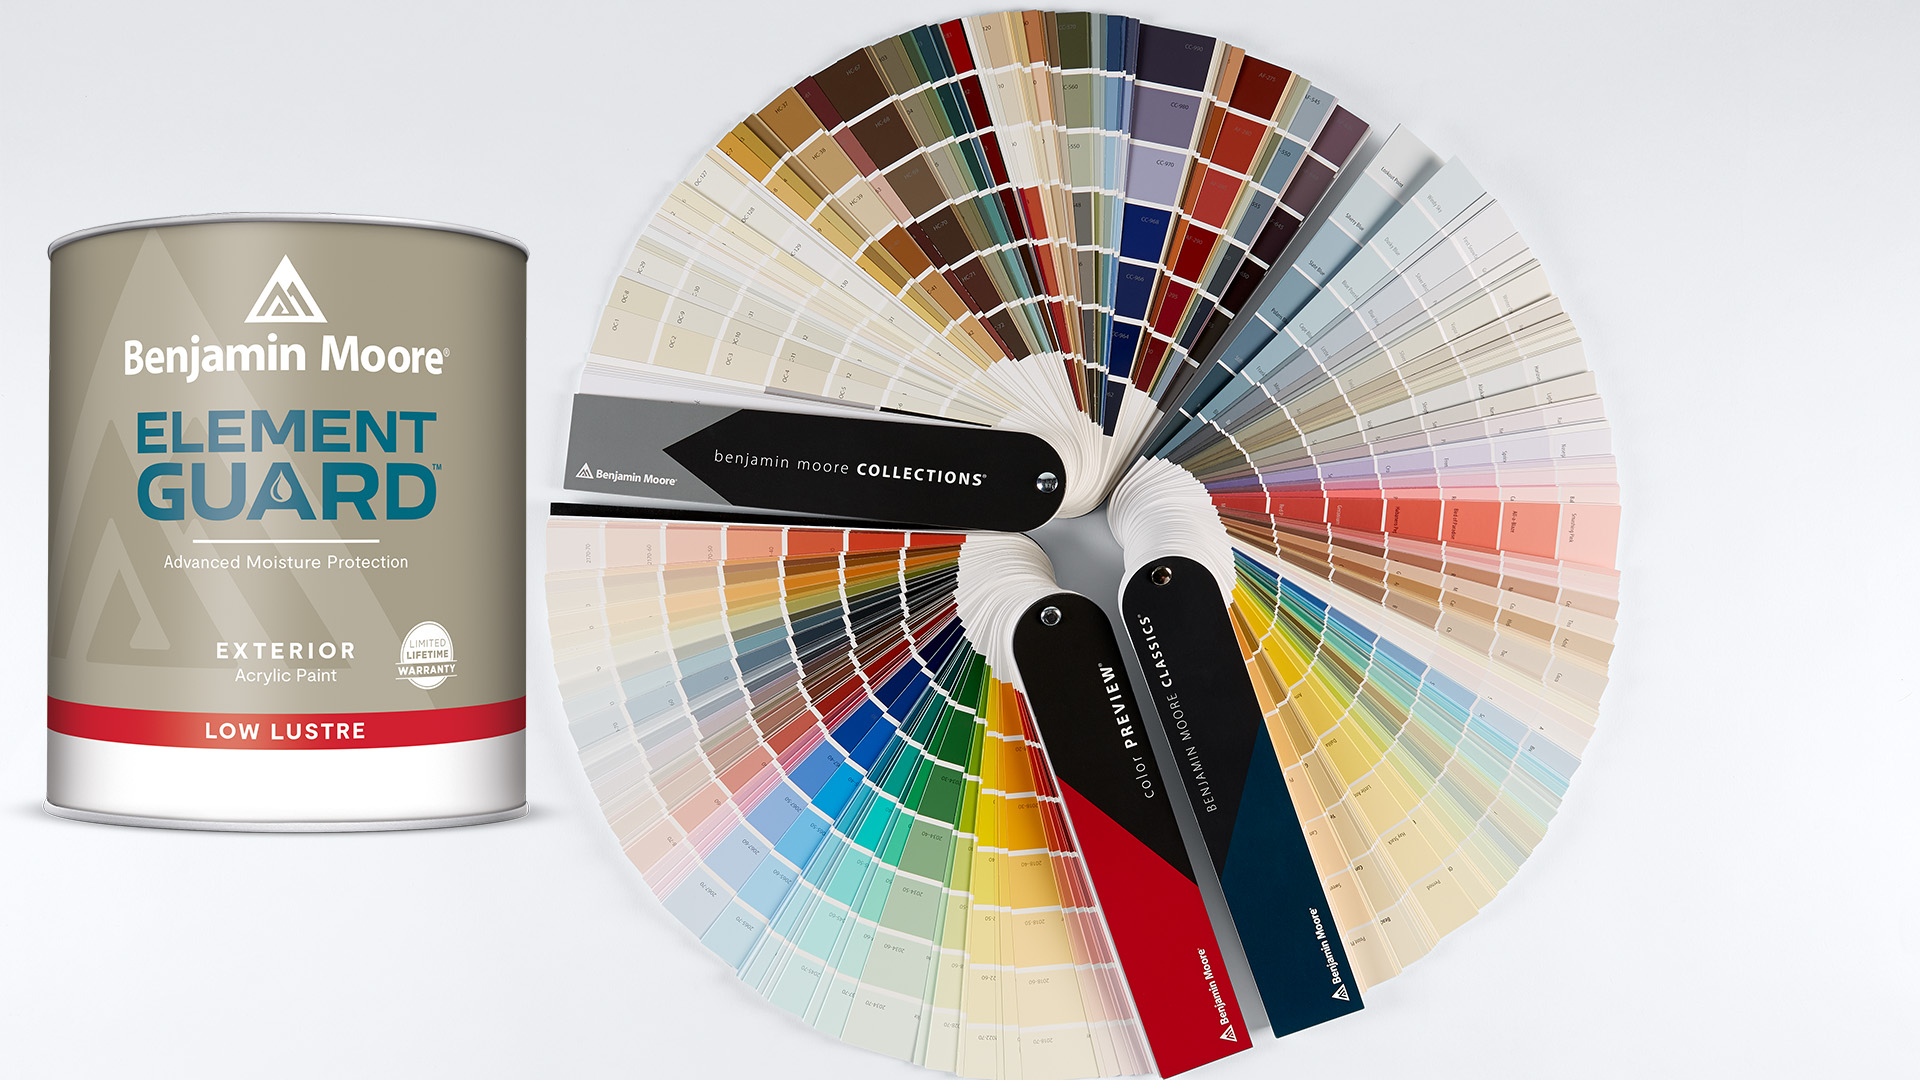
Primer Selection Made Easy
Whether you need primer depends on several factors like the wall’s current condition and the paint used previously. In general, walls benefit from a water-based, 100-percent latex primer, especially when facing significant color changes. For different surfaces like bare wood, painted trim, or unique materials like MDF, the choice between oil-based, water-based, or shellac primers can make all the difference in your project’s outcome.
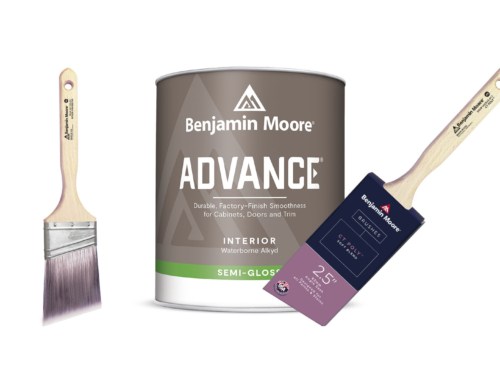
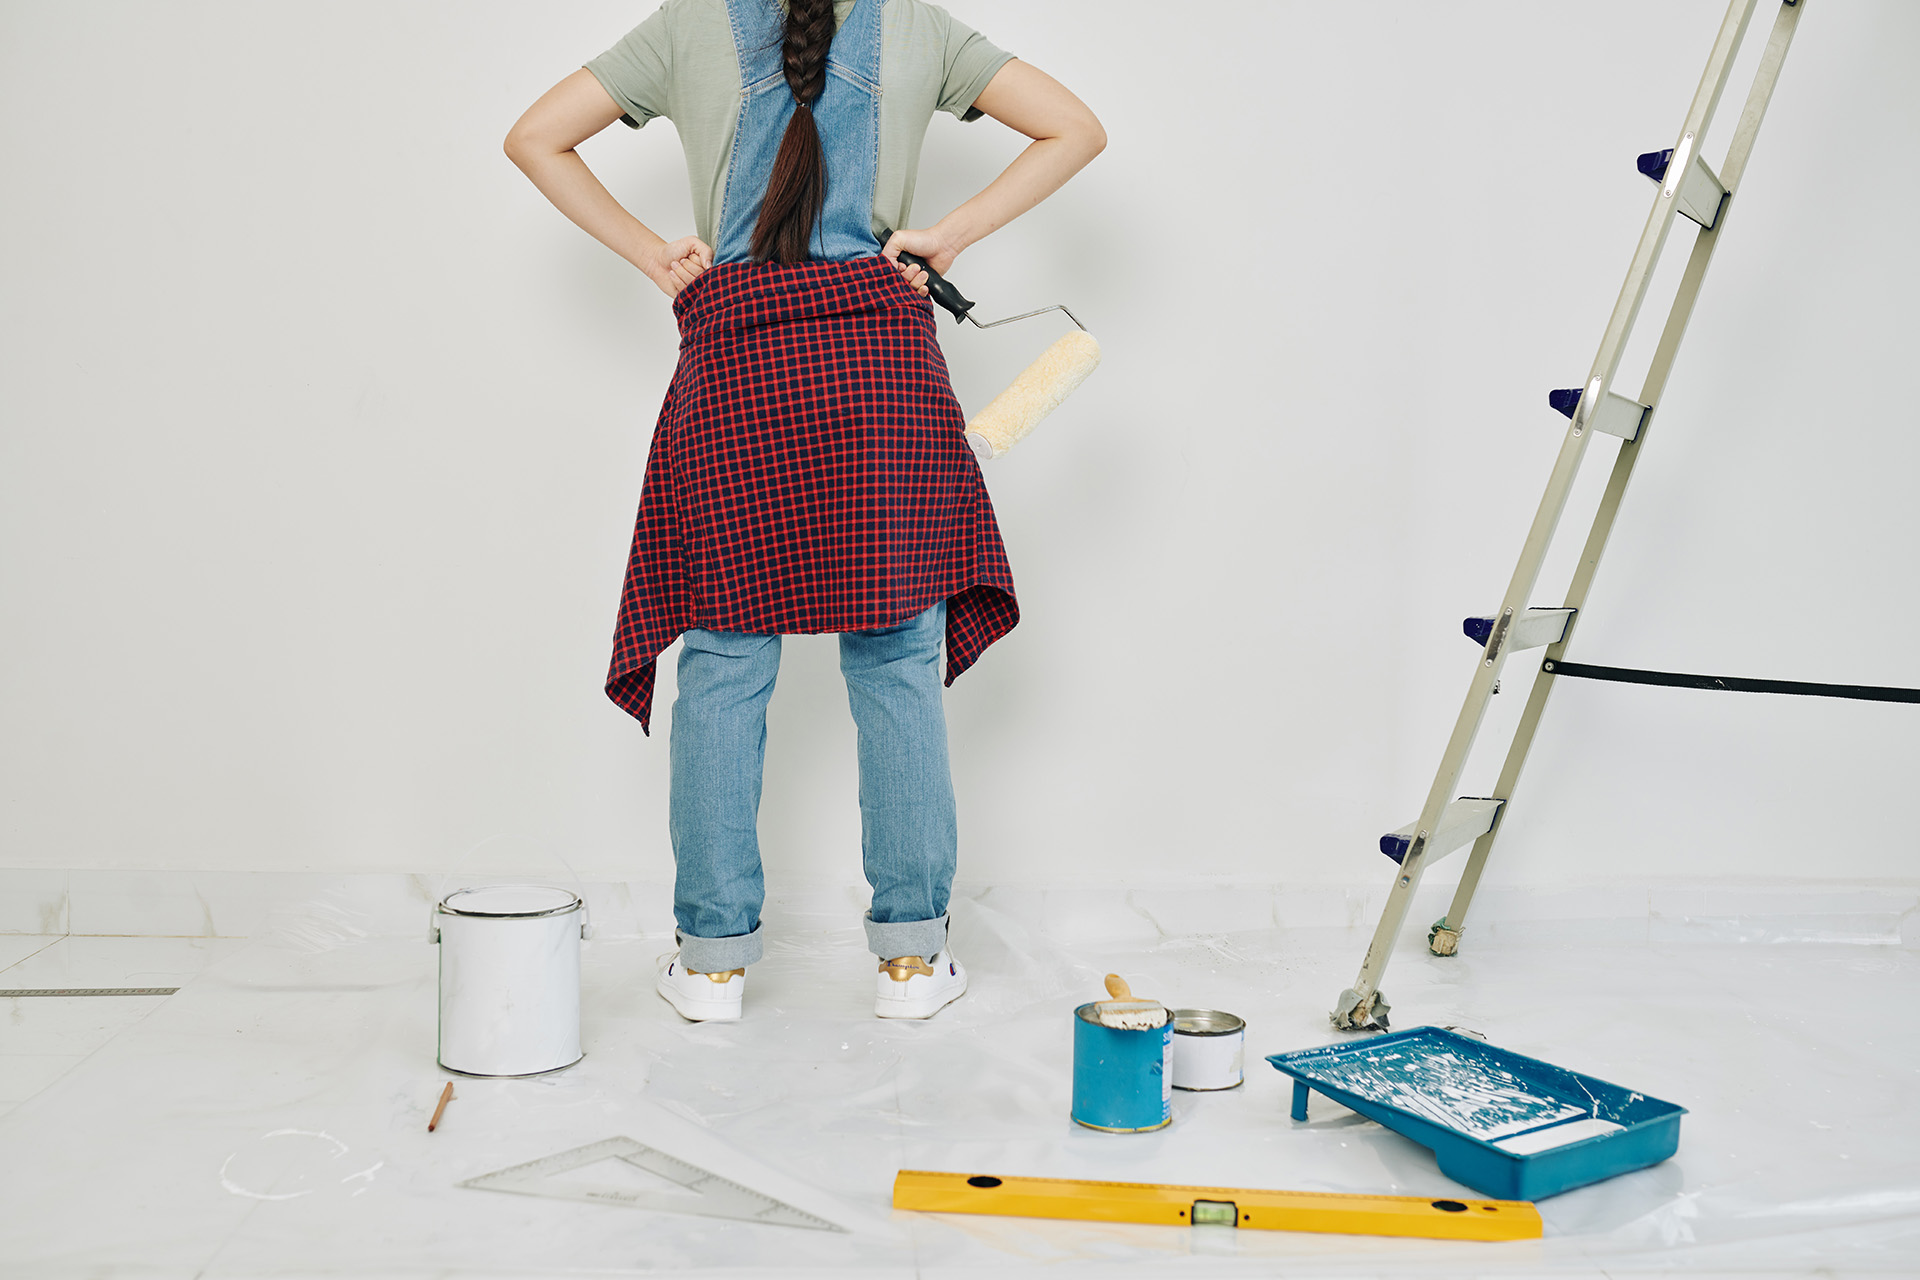
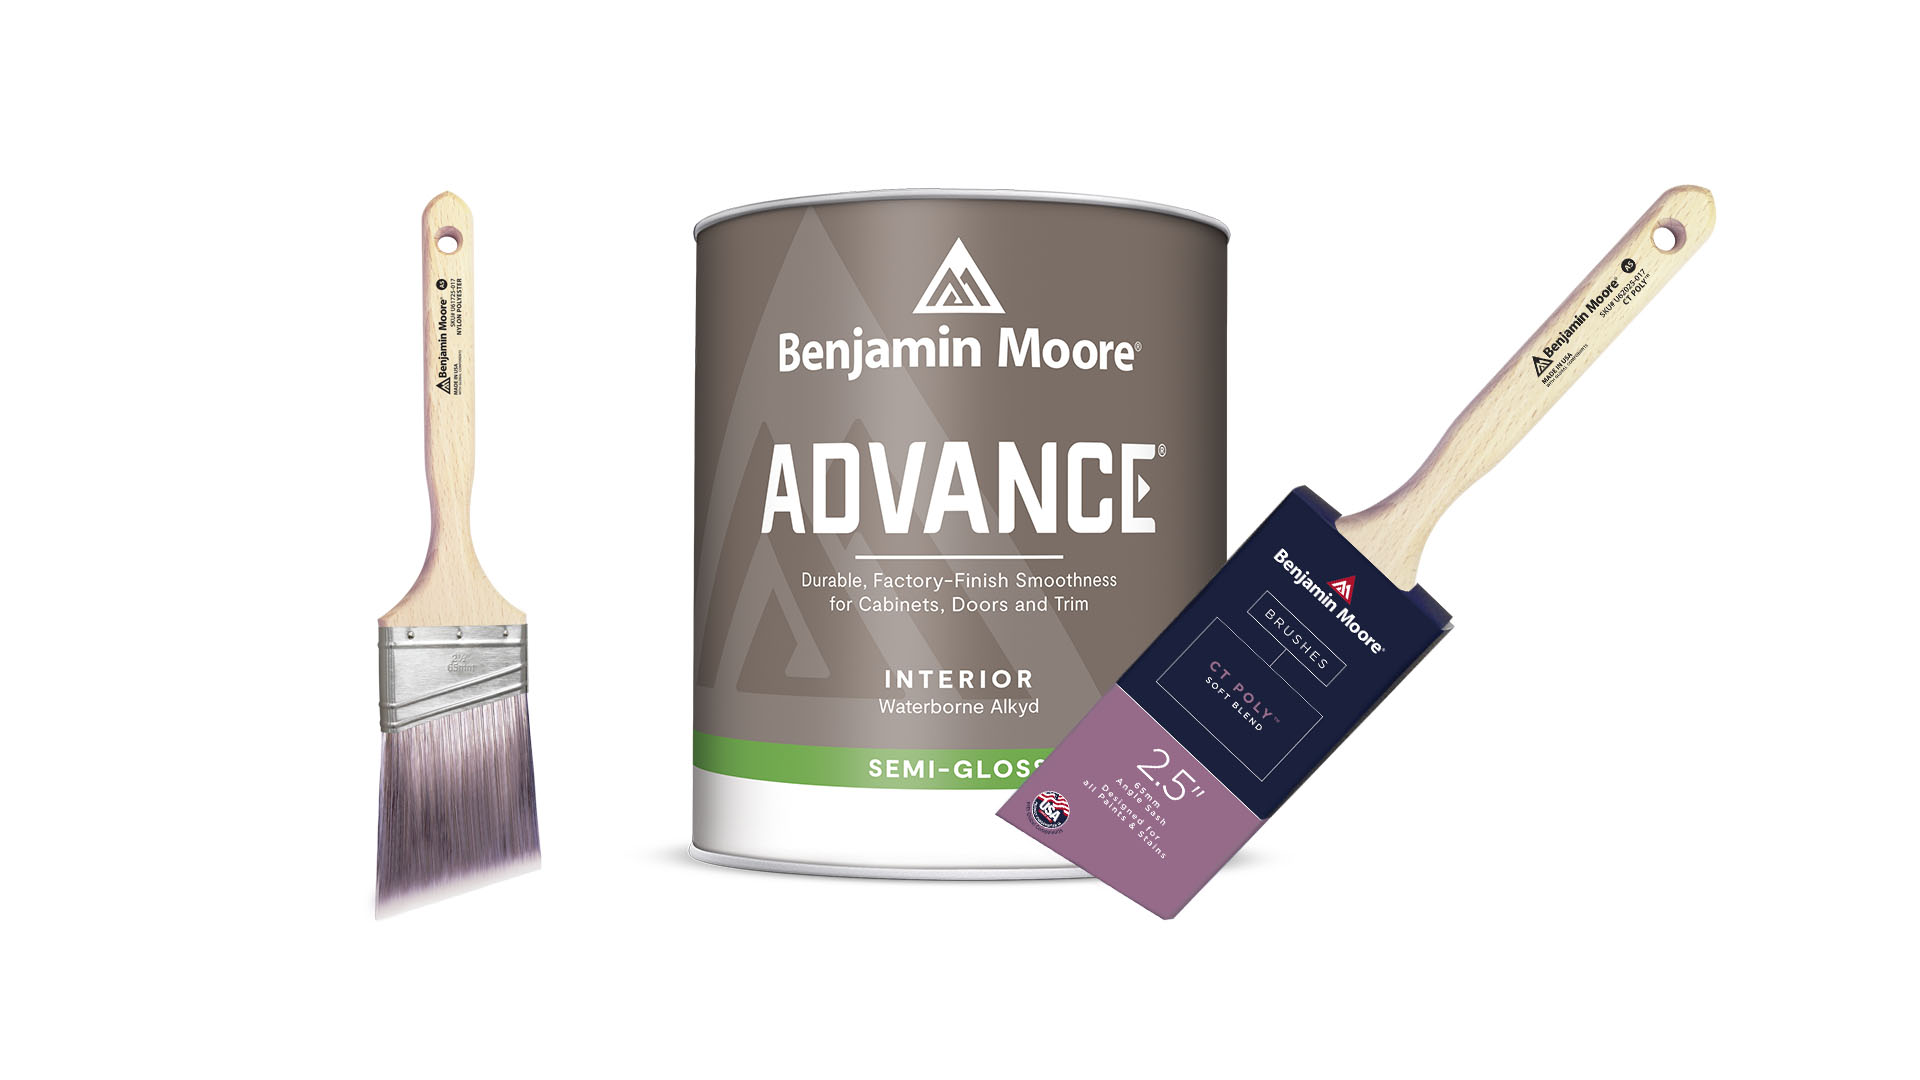
Choosing the Right Tools for the Job
High-quality tools are non-negotiable for a top-notch paint job. Select the right brushes, rollers, and accessories based on your paint type and the surfaces you’re painting. From synthetic bristle brushes for latex paint to microfiber roller covers for a smooth finish, the right tools make all the difference.
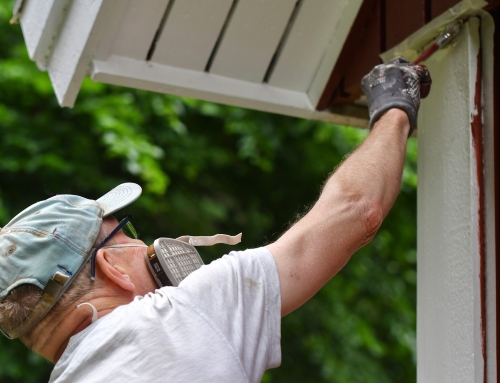
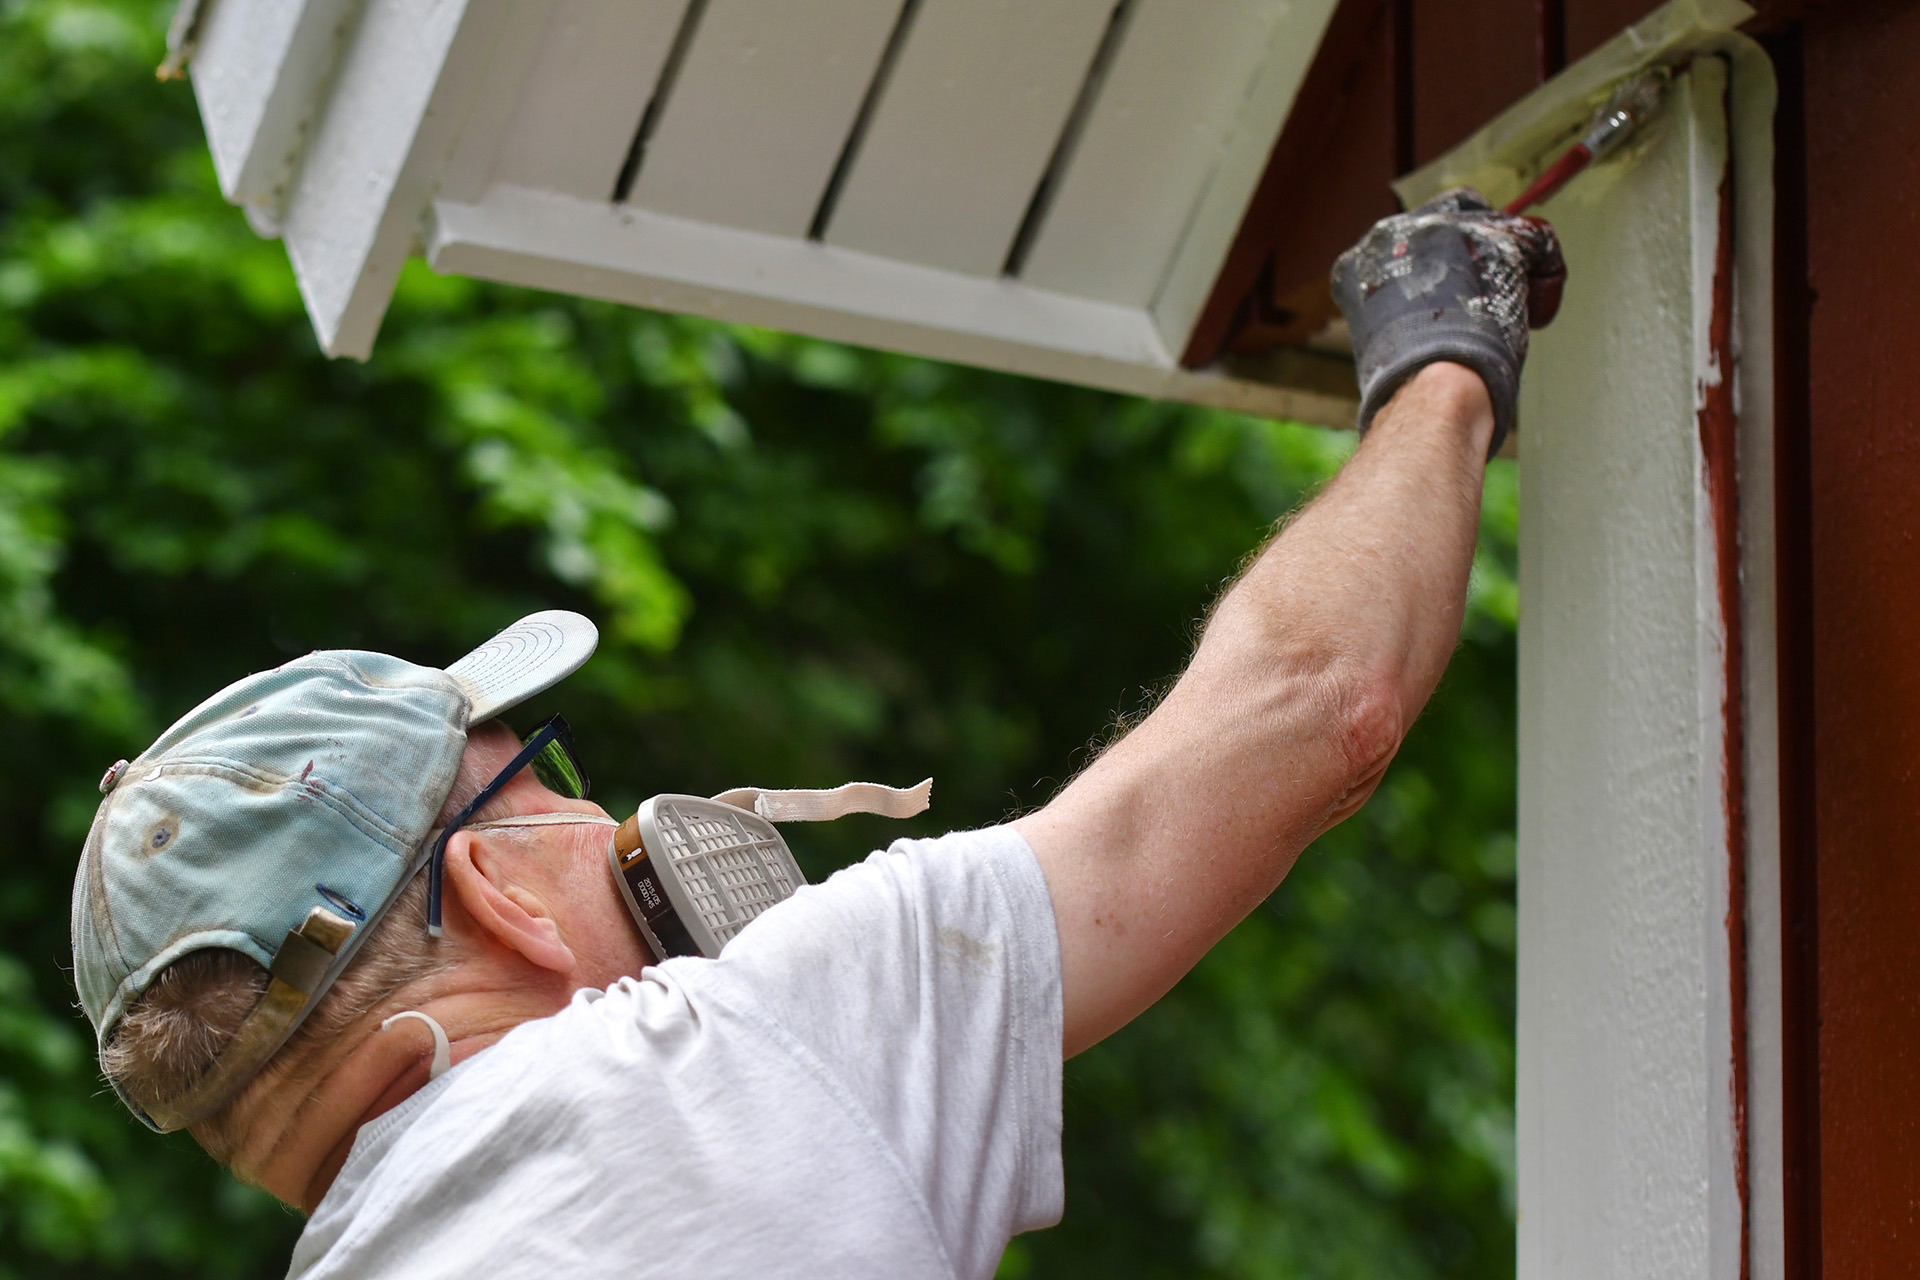
Painting Order: A Top-Down Approach
For efficiency and to avoid any mishaps, paint from the top down. Begin with the ceiling, then move on to trim, windows, doors, and finally, the walls and baseboards. This strategy ensures you won’t accidentally mar freshly painted surfaces.
Techniques for Brush and Roller
Holding your paintbrush correctly can significantly impact your control and the finish. When using a roller, employ a methodical approach for even coverage. Starting with a ‘W’ or ‘N’ pattern ensures thorough and uniform paint application.
By following these steps, you’re setting your painting project up for success. Preparation is the key to a job well done, ensuring your painted rooms look professionally done, with a finish that lasts.


