


Antiquing Your One Step Paint
In this tutorial you will learn how to use Amy Howard’s One Step Paint to create an antique finish. This technique can be applied to Furniture and other wood surfaces.
For this tutorial, you will need:
- Piece of Furniture (or other surface)
- T-shirt rag
- 2″ paint brush
 [/fourcol_one]
 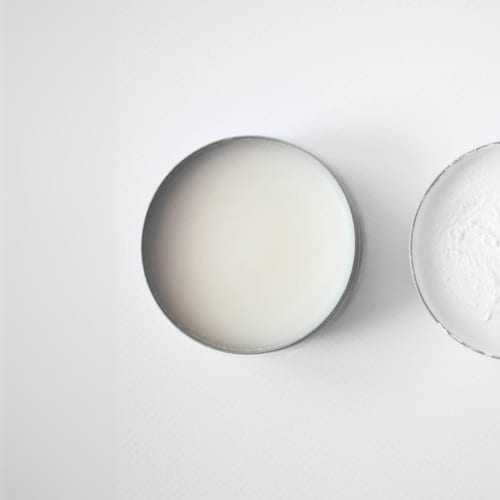 [/fourcol_one]
 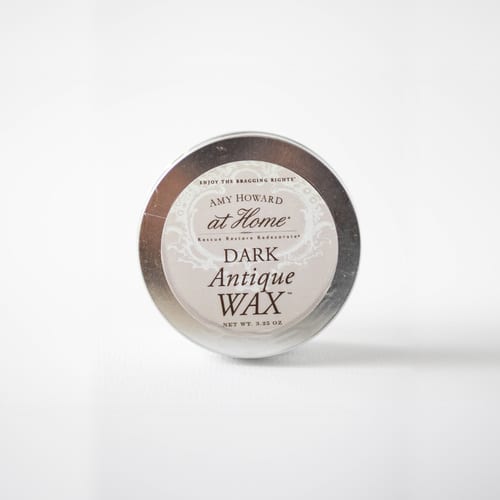 [/fourcol_one]
 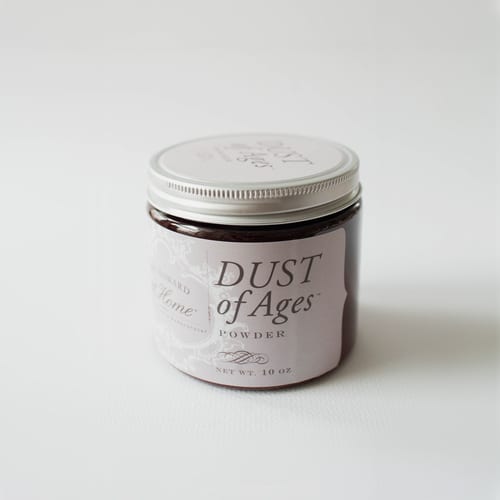 [/fourcol_one_last]
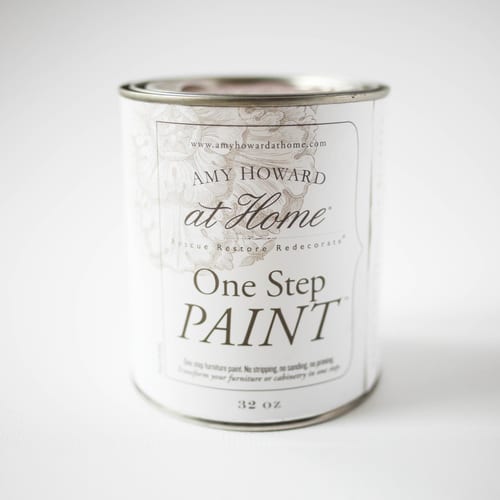
Step 1: Applying the One Step Paint
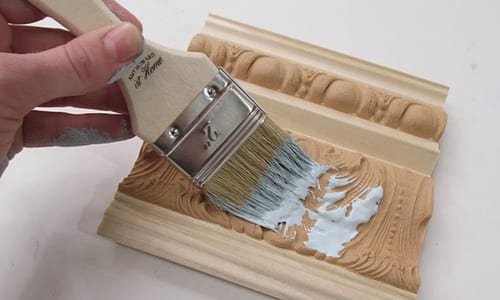
Apply Amy Howard at Home One Step Paint to the surface of your project piece.
Remember to keep your brush strokes long and with the grain.

Allow the surface of your piece to dry before moving on to the next step.
Step 2: Applying the Light Antique Wax
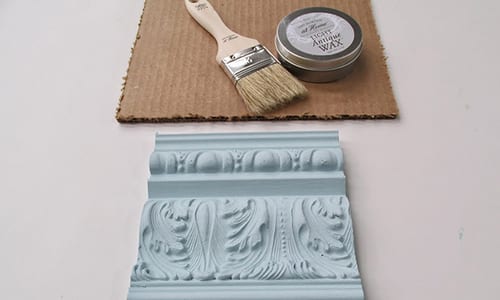
Apply even coverage of the Light Antique Wax over the One Step Paint.
Be sure not to go directly from the wax to the surface of your piece.
Always off-load onto a cardboard palette.
Step 3: Applying Dark Antique Wax

After the Light Antique Wax has dried for at least 15 minutes, apply the Dark Antique Wax to give your piece an aged and worn look.
The Dark Antique Wax should not be applied consistently over the surface like the Light Antique Wax .
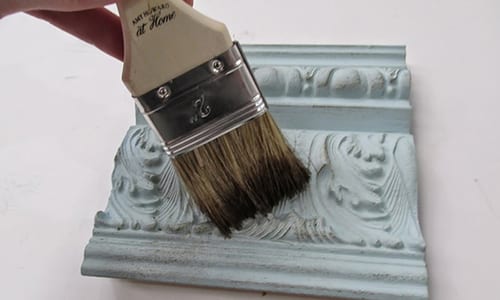
Apply the Dark Wax sparingly in places where the piece would have been worn over the years.
Step 4: Applying Dust of Ages
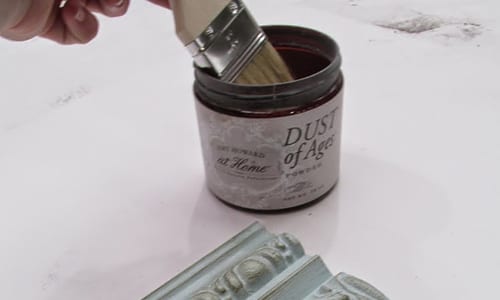
Once the Dark Antique Wax has dried for at least 15 minutes, apply the Dust of Ages powder.
Don’t be shy to go heavy on the Dust of Ages powder.
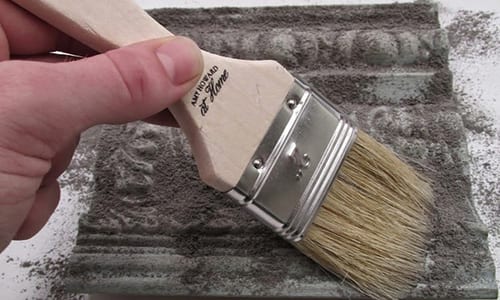
Be sure to pounce the Dust of Ages heavily throughout all the crevices on your piece.
Step 5: Buffing out the Dust of Ages
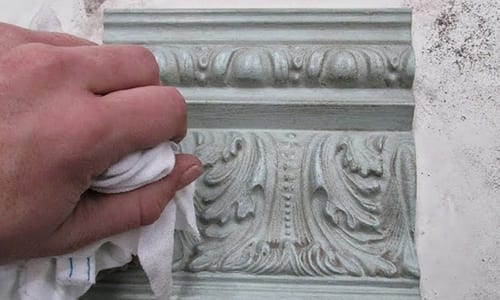
Use a T-shirt rag to buff out any excess Dust of Ages powder.
Continue buffing until you reach your desired effect.


